Quadriceps Exercises
| Step 1
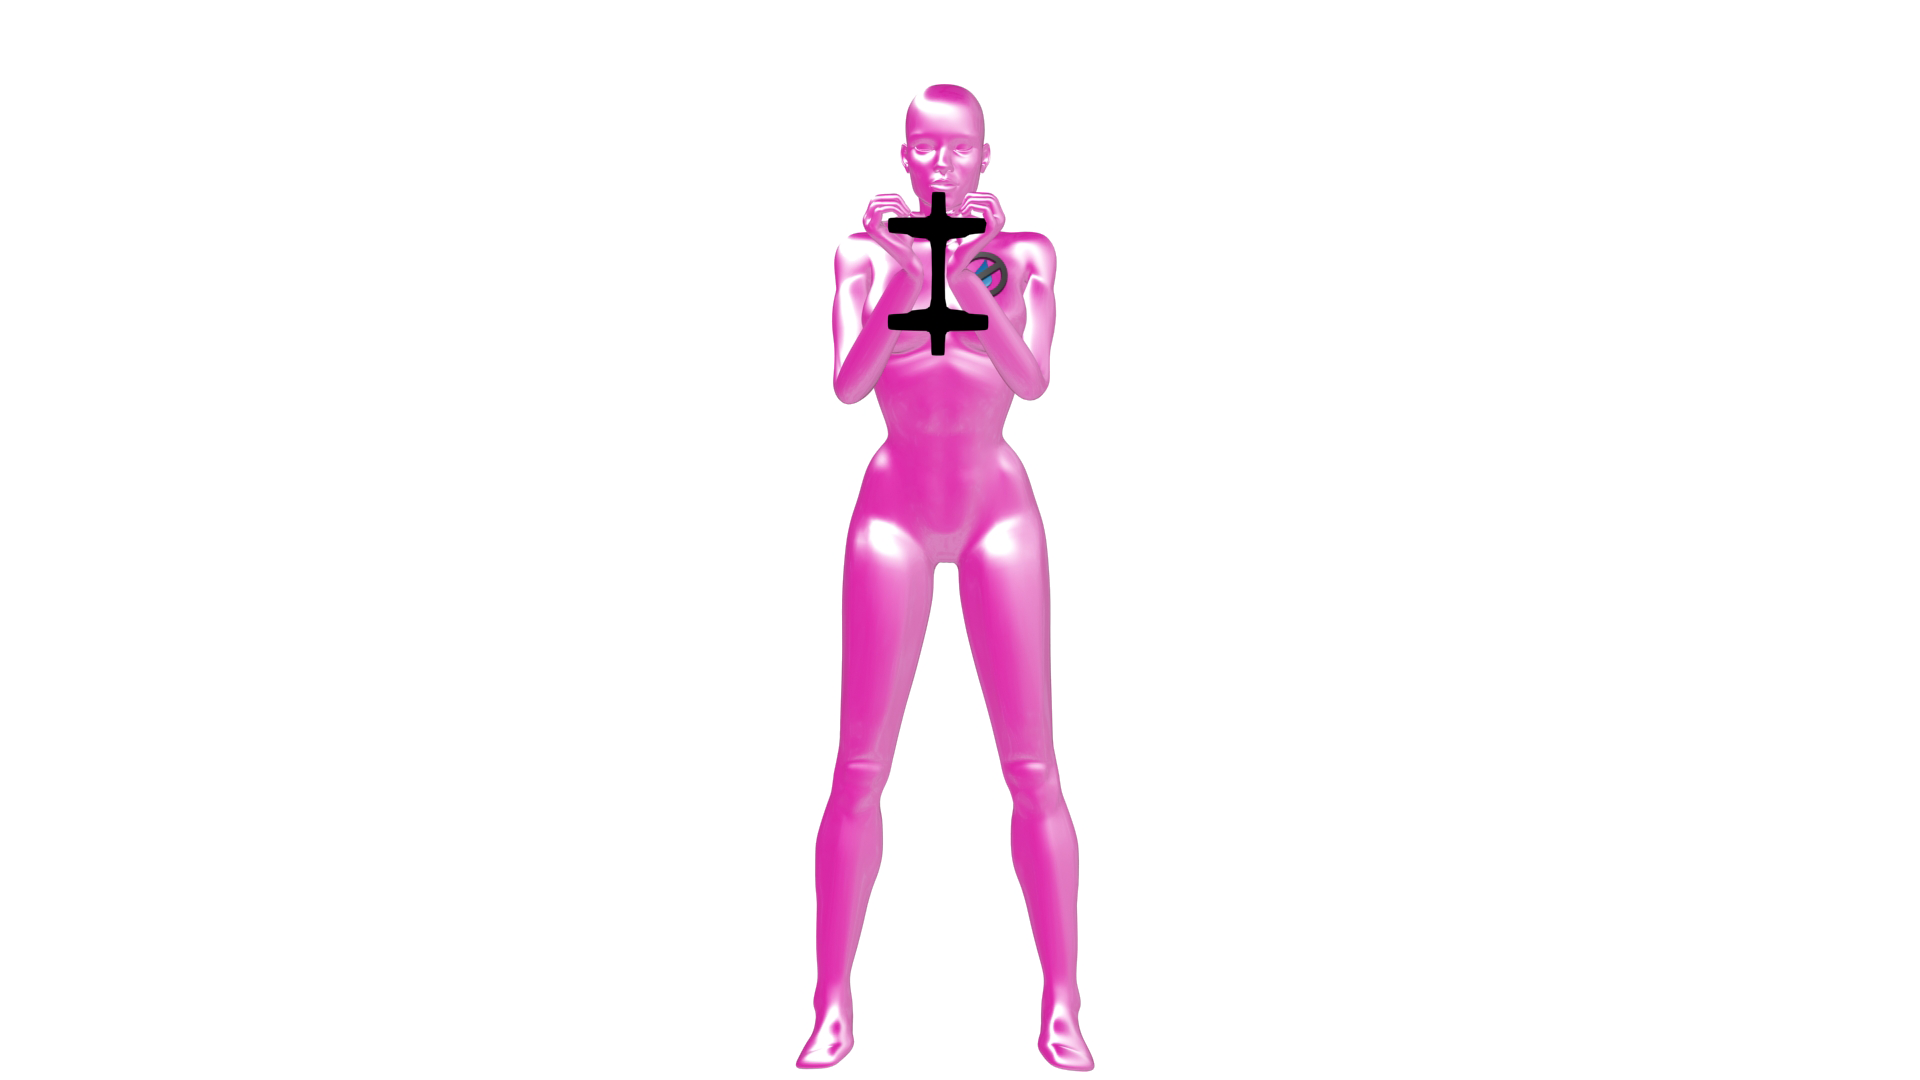
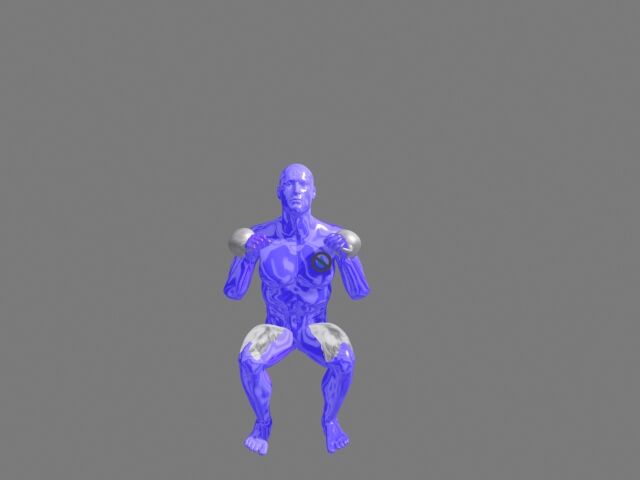
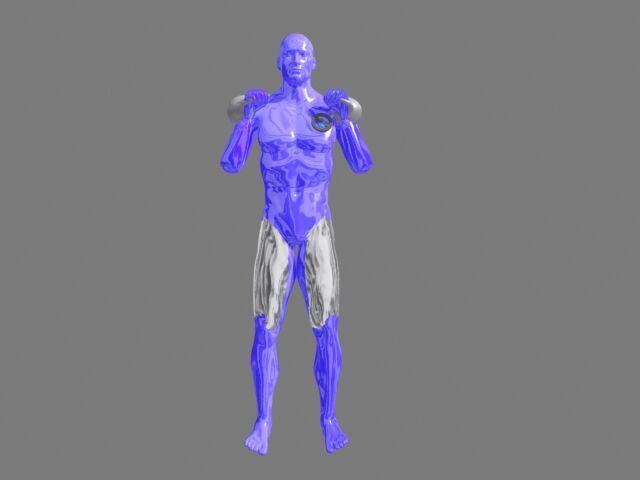
Start in a standing position with the head of a dumbbell tightly gripped with both hands. The dumbbell will be close to your chest just under your chin. Look straight forward, with your shoulders back, your back perfectly straight, and your feet slightly outside of shoulder width. This will be your starting position.
| Step 2
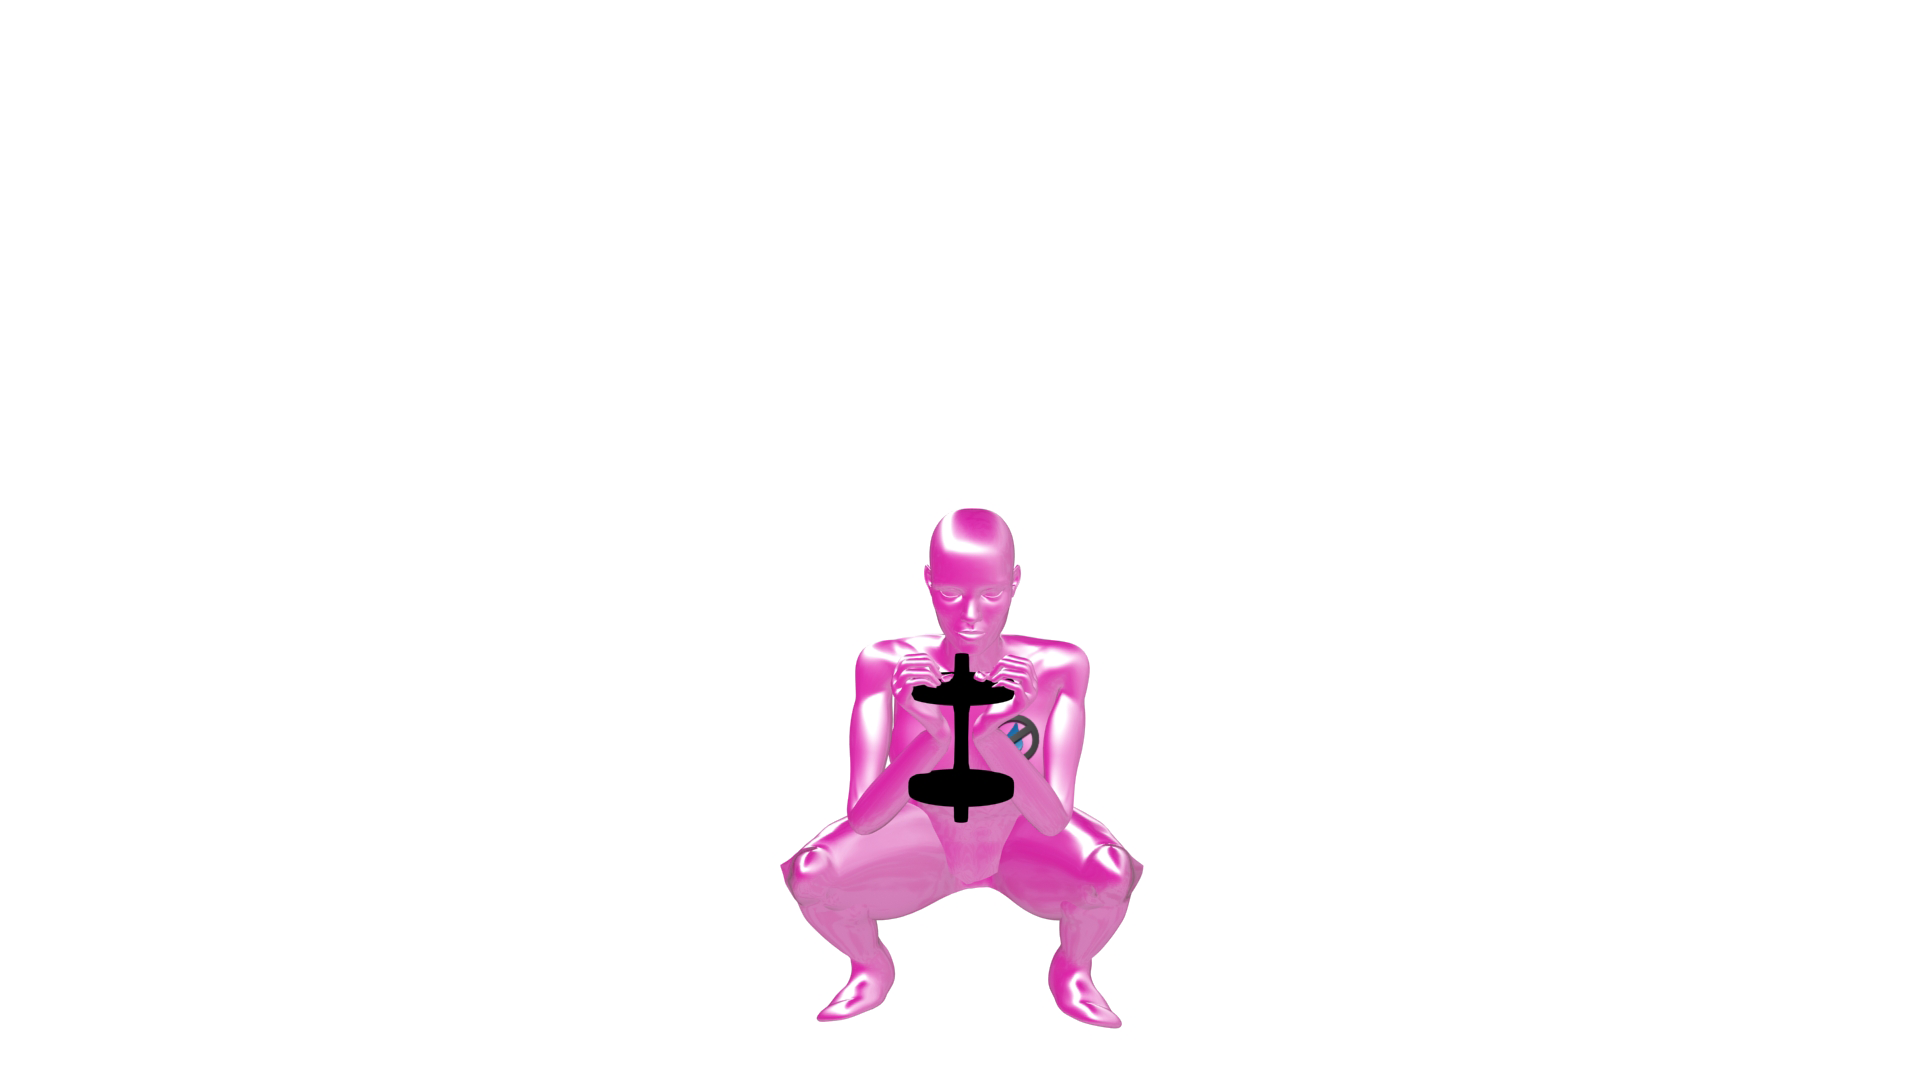
Slowly move into a seated position until you reach a squat. Your elbows will touch your knees when you have reached the correct position. Remember to keep your back completely straight during this movement.
| Step 3
Return to the starting position by driving through your heels, extending the knees and hips to return to the starting position.
| Step 4
Repeat the movement for the prescribed number of repetitions.
| Step 1
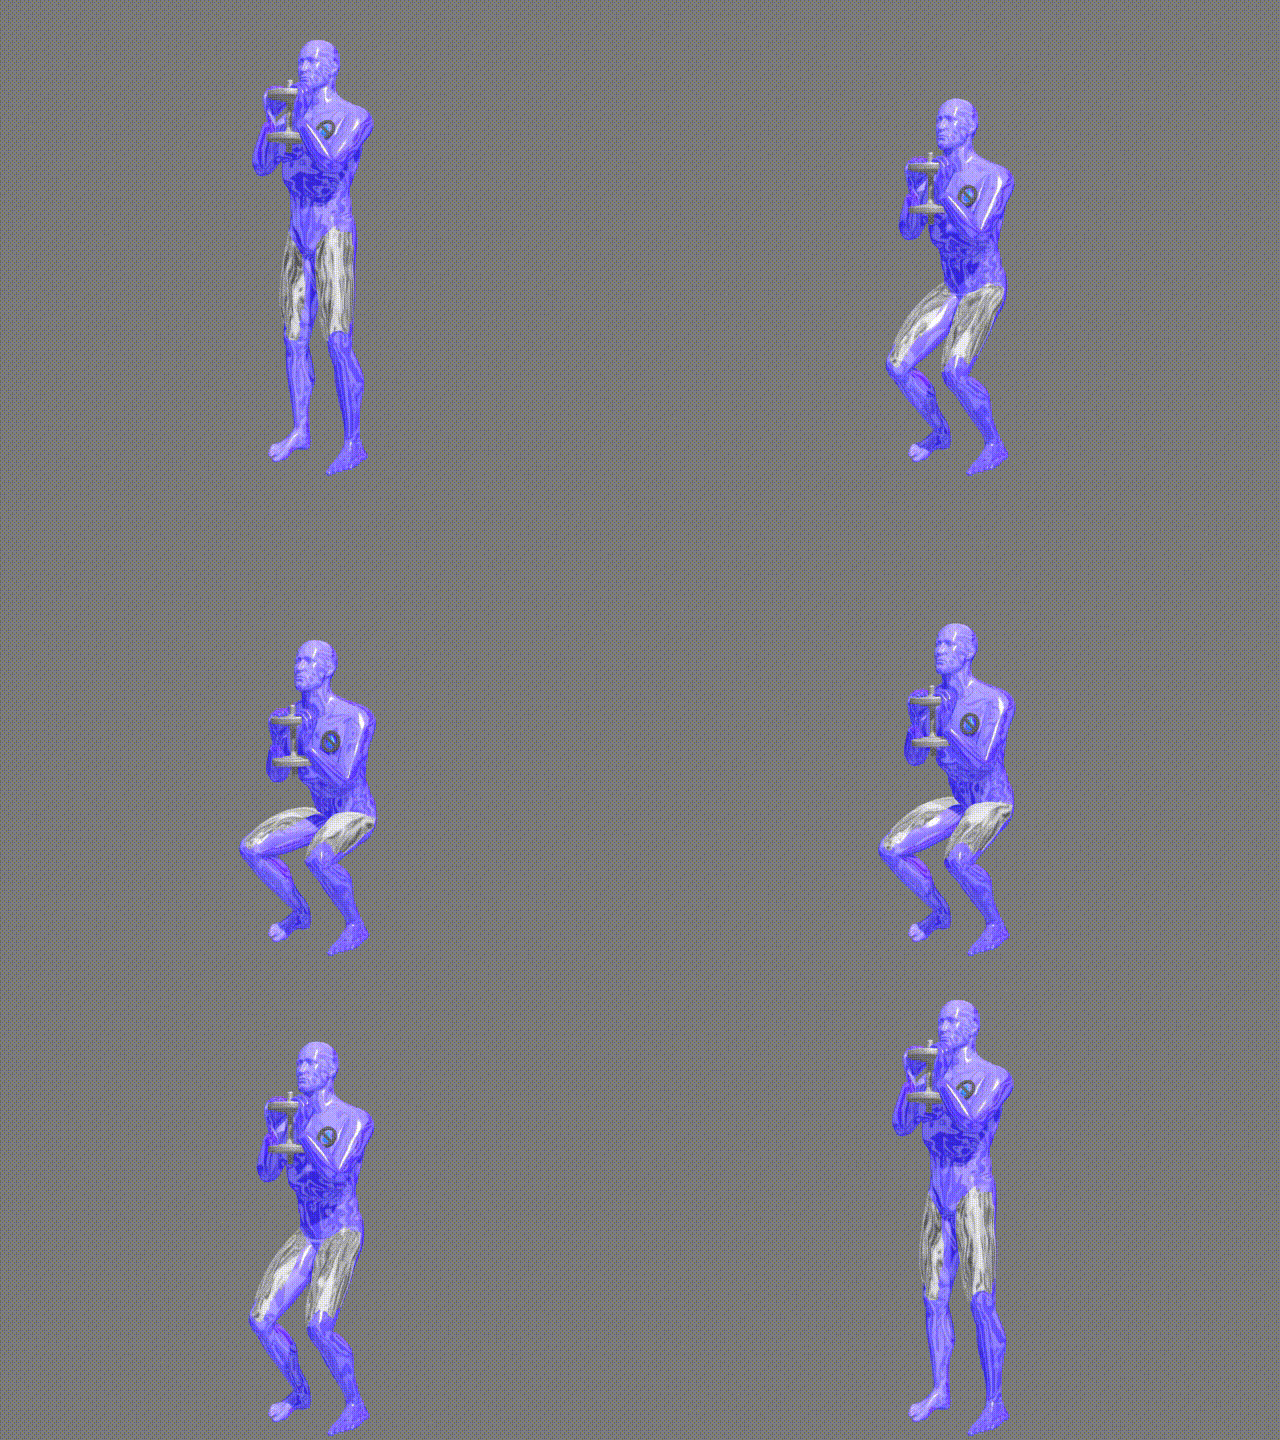
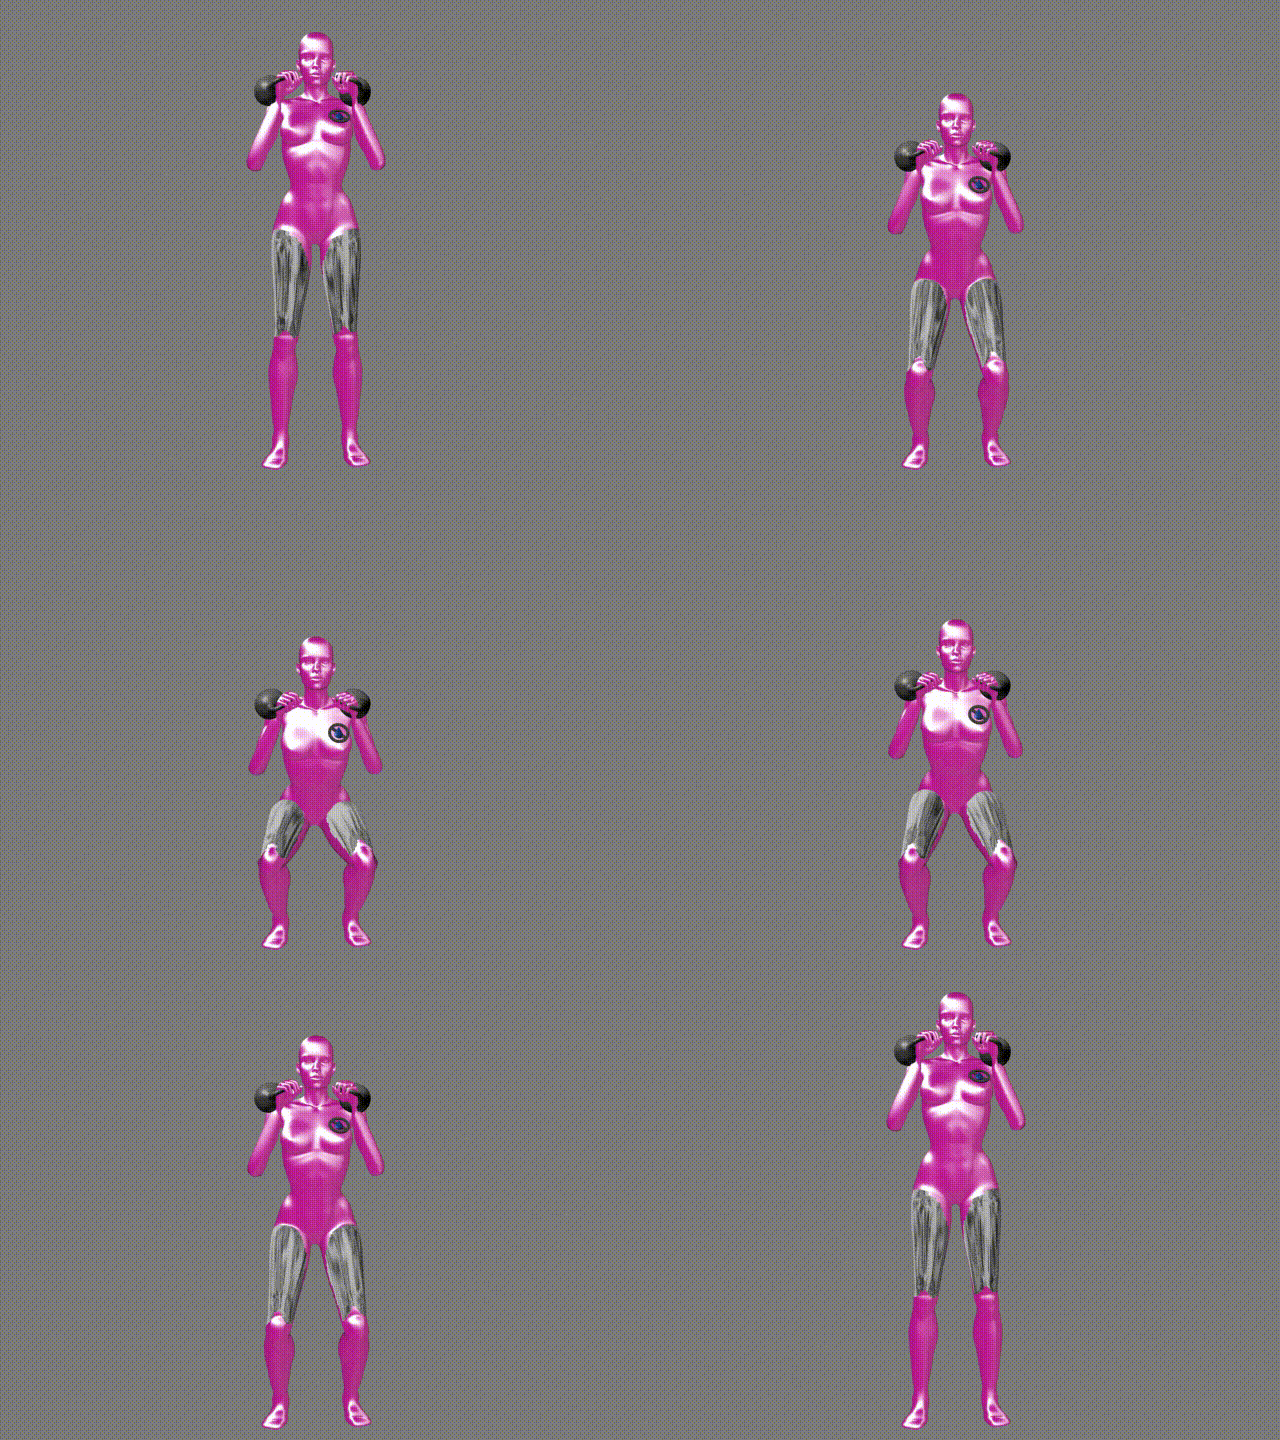
Clean or thrust two kettle bells to your shoulders. Trust (without straining your back) the kettle bells to your shoulders by extending through the legs and hips as you pull the kettle bells towards your shoulders. Rotate your wrists as you do so.
| Step 2
With your back straight and looking forward at all times, squat as low as you can. Elbows should touch your knees as you pause at the bottom while keeping your torso upright with your head and chest up.
| Step 3
Rise back up by driving through your heels and repeat.
| Step 1
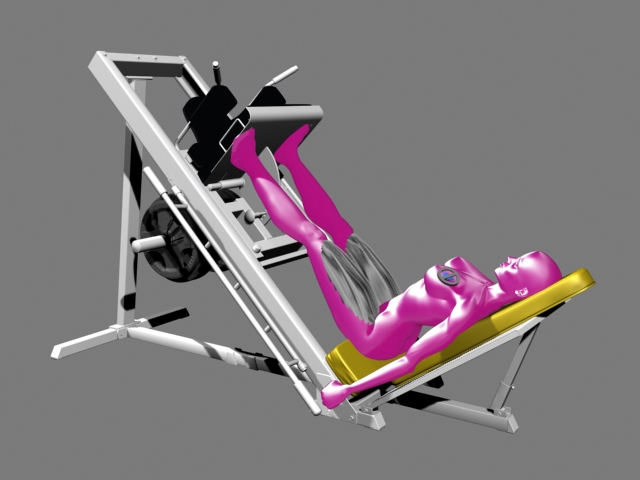
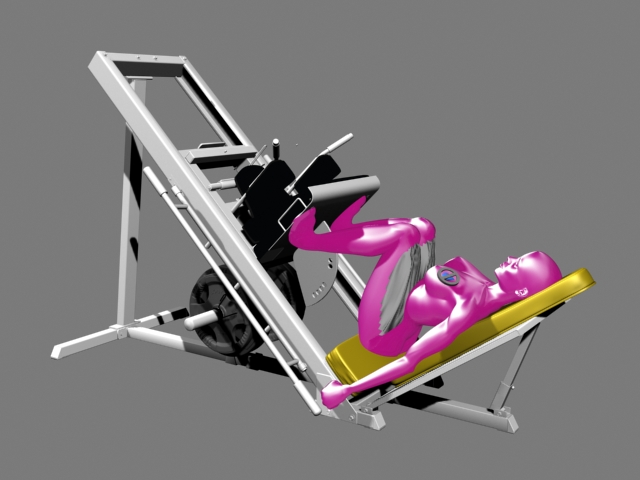
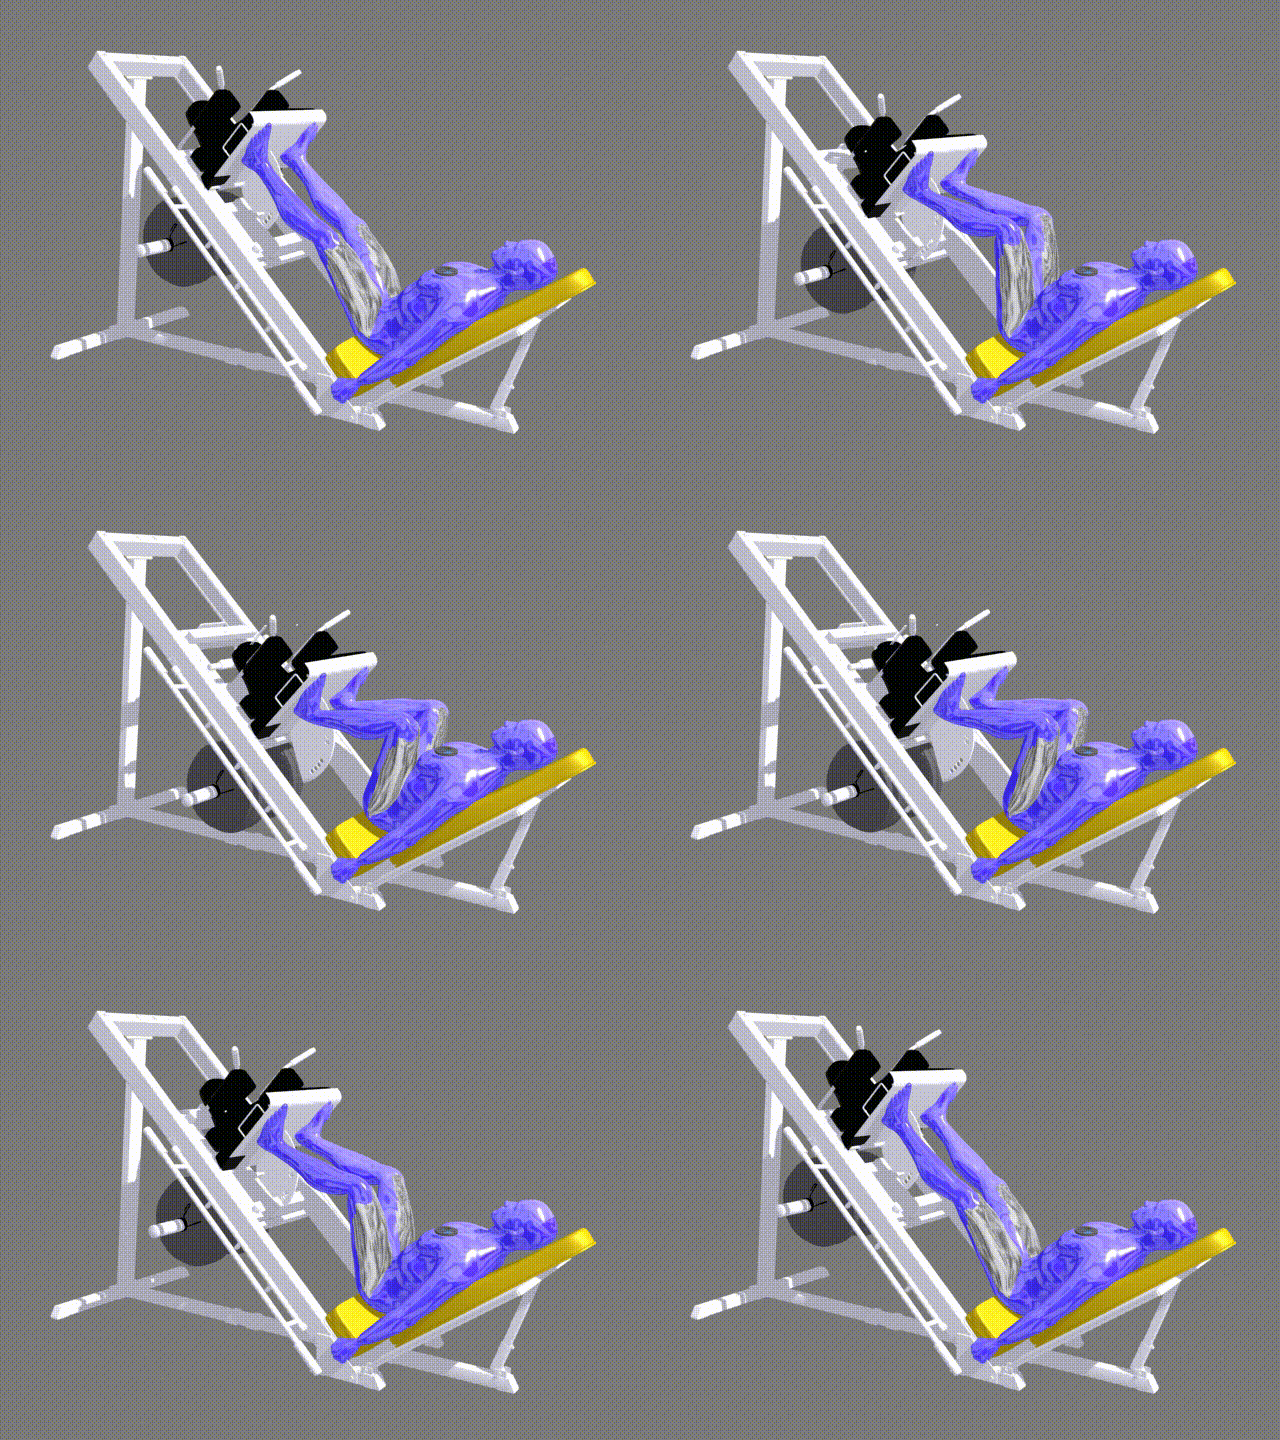
Using a leg press machine, sit down on the machine and place your legs on the platform directly in front of you shoulder width apart. (Note: You can choose any of the three foot stances described but this is the most common for overall results).
| Step 2
Lower the safety bars holding the weighted platform in place and press the platform all the way up until your legs are fully extended in front of you.
Tip: Do not lock your knees.
| Step 3
As you inhale, lower the platform slowly until your upper and lower legs make a 90-degree angle.
| Step 4
Pushing mainly with the heels of your feet and using the quadriceps go back to the starting position as you exhale.
| Step 5
Repeat for the prescribed number of repetitions.
CAUTION: Lock the safety pins properly when done. You do not want that platform falling on you fully loaded.
| Step 1
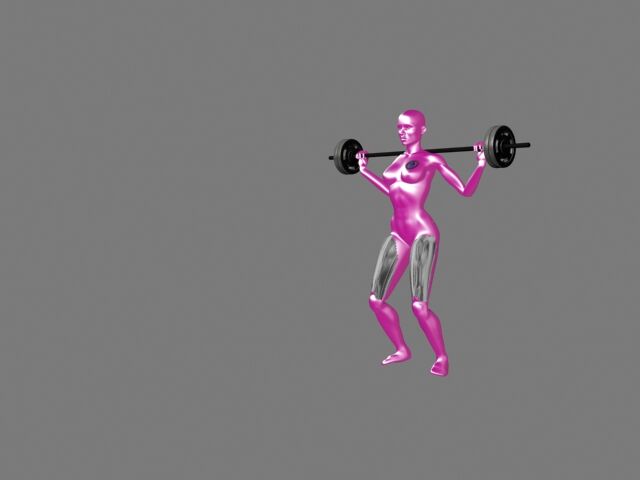
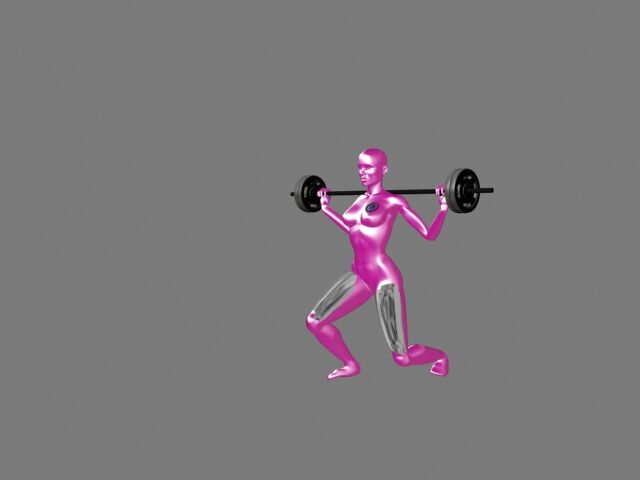
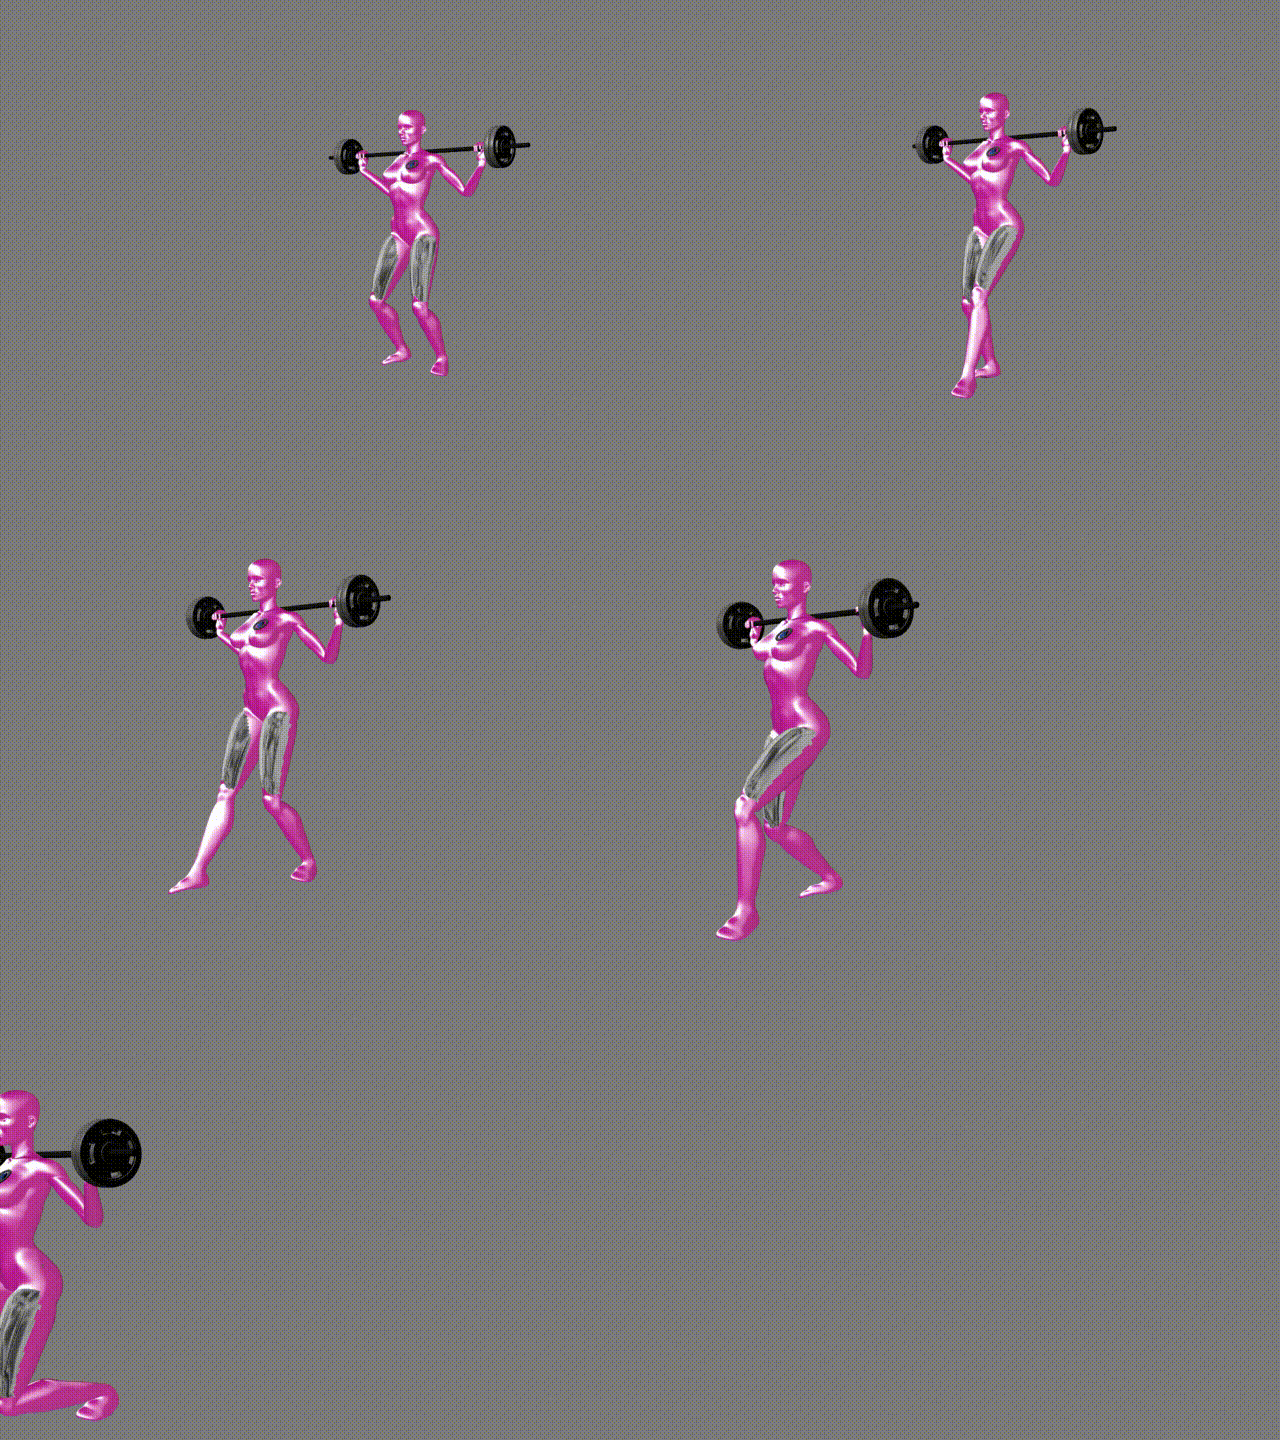
To begin, first set the bar on a rack just below shoulder level. Once the correct height is chosen and the bar is loaded, step under the bar and place the back of your shoulders (slightly below the neck) across it. The walking lunges is a more challenging version of a basic lunge where you walk across the room but in a lunging fashion. For walking lunges the leg being left back has to be brought forward after the lunging action has happened in order to continue moving ahead. This version is reserved for the most advanced athletes.
| Step 2
Step forward with your right leg and squat down through your hips, while keeping the torso upright and maintaining balance. Inhale as you go down. Using mainly the heel of your foot, push up and begin walking forward then repeat the motion.
Note: Do not allow your knee to go forward beyond your toes as you come down, as this will put undue stress on the knee joint.
Caution: This is a movement that requires a great deal of balance so if you have balance issues use your own bodyweight while holding on to a fixed object. DO NOT USE WEIGHTS.
Variations: There are several ways to perform the exercise.
- One way is to alternate each leg. For instance do one repetition with the right, then the left, then the right and so on.
- The other way is to do what I call a static lunge where your starting position is with one of your feet already forward. In this case, you just go up and down from that starting position until you are done with the recommended amount of repetitions. Then you switch legs and do the same. (This a beginners approach)
| Step 1
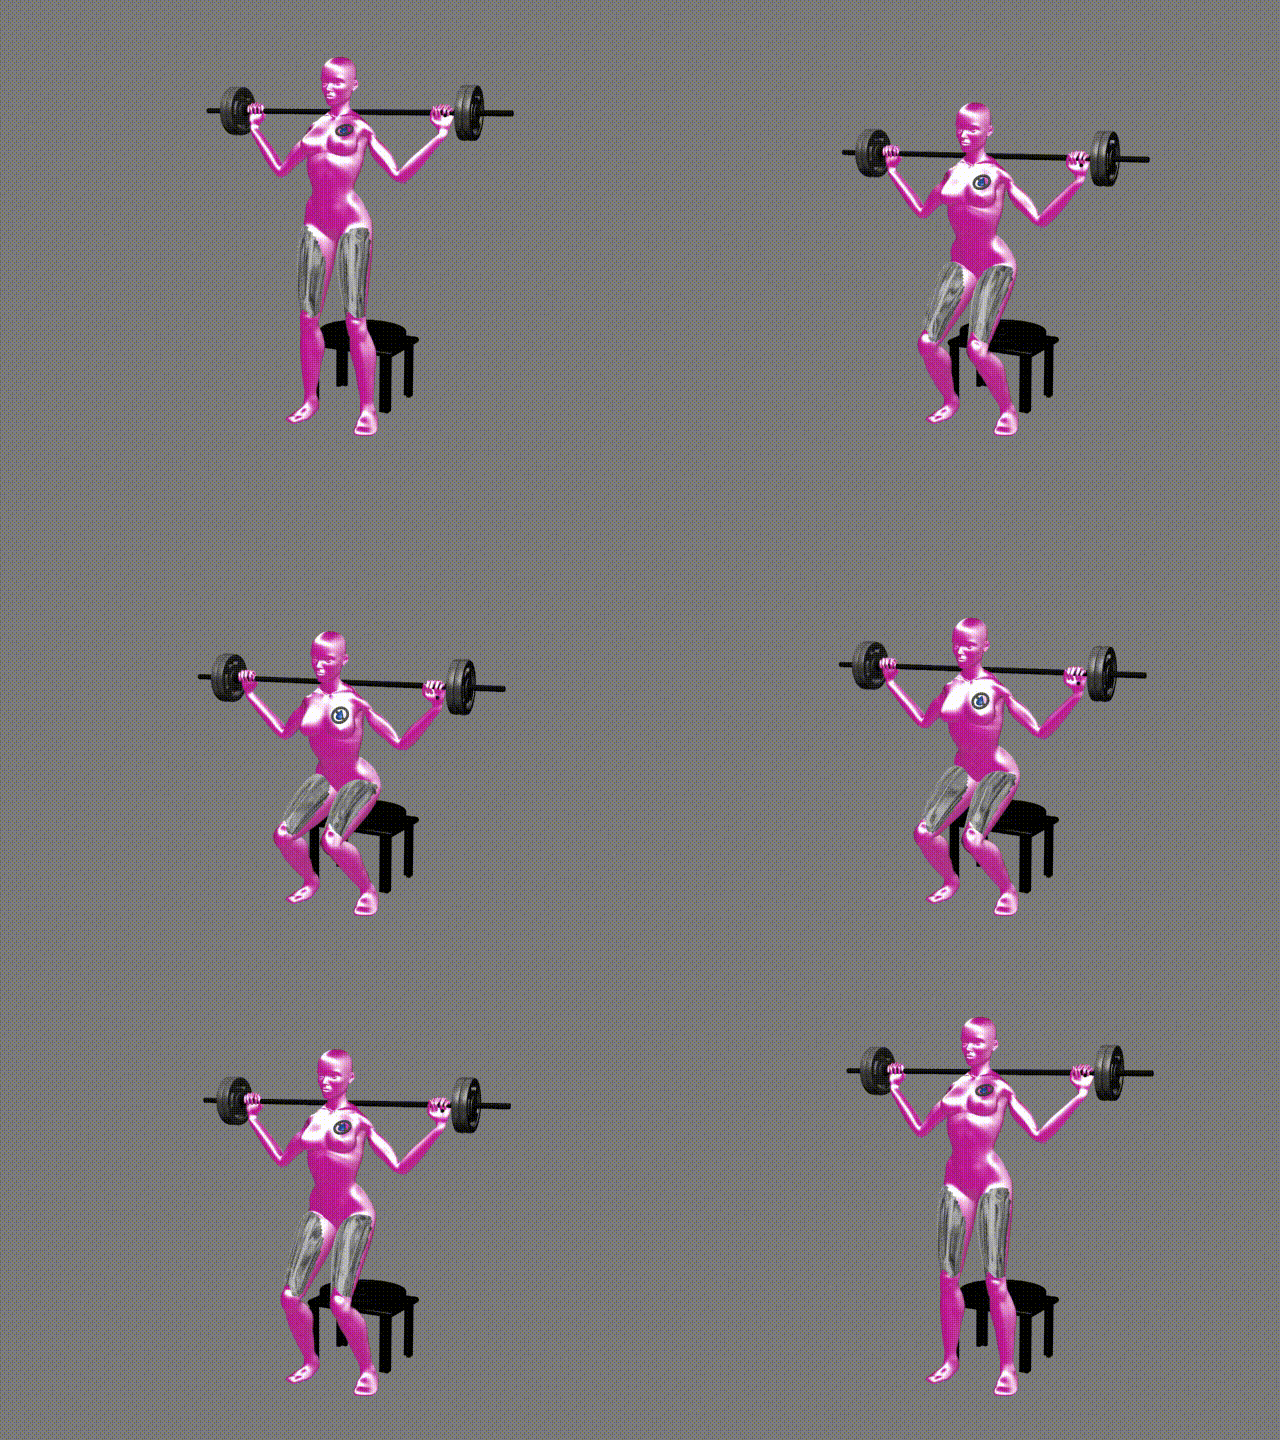
This exercise is best performed inside a squat rack for safety purposes. To begin, first set the bar on a rack just above shoulder level. Once the correct height is chosen and the bar is loaded, step under the bar and place the back of your shoulders (slightly below the neck) across it.
| Step 2
Grasp the bar with your hands equal distance at each side and pushing with your legs lift it off the rack and at the same time straighten your torso(upper body).
| Step 3
Step away from the rack. Then, place your legs in a shoulder-width stance with the toes slightly pointed out. Keep your head up at all times and maintain a straight back. This will be your starting position.
| Step 4
Begin to slowly lower the bar by bending the knees as in a seated position while maintaining a straight posture with the head up. Continue down until your hamstrings are on your calves. Inhale as you perform this portion of the movement.
| Step 5
Return to the starting position by raising the bar by pushing through the floor with the heel or middle of your feet while straightening the legs.
| Step 6
Repeat for the prescribed number of repetitions.
| Step 1
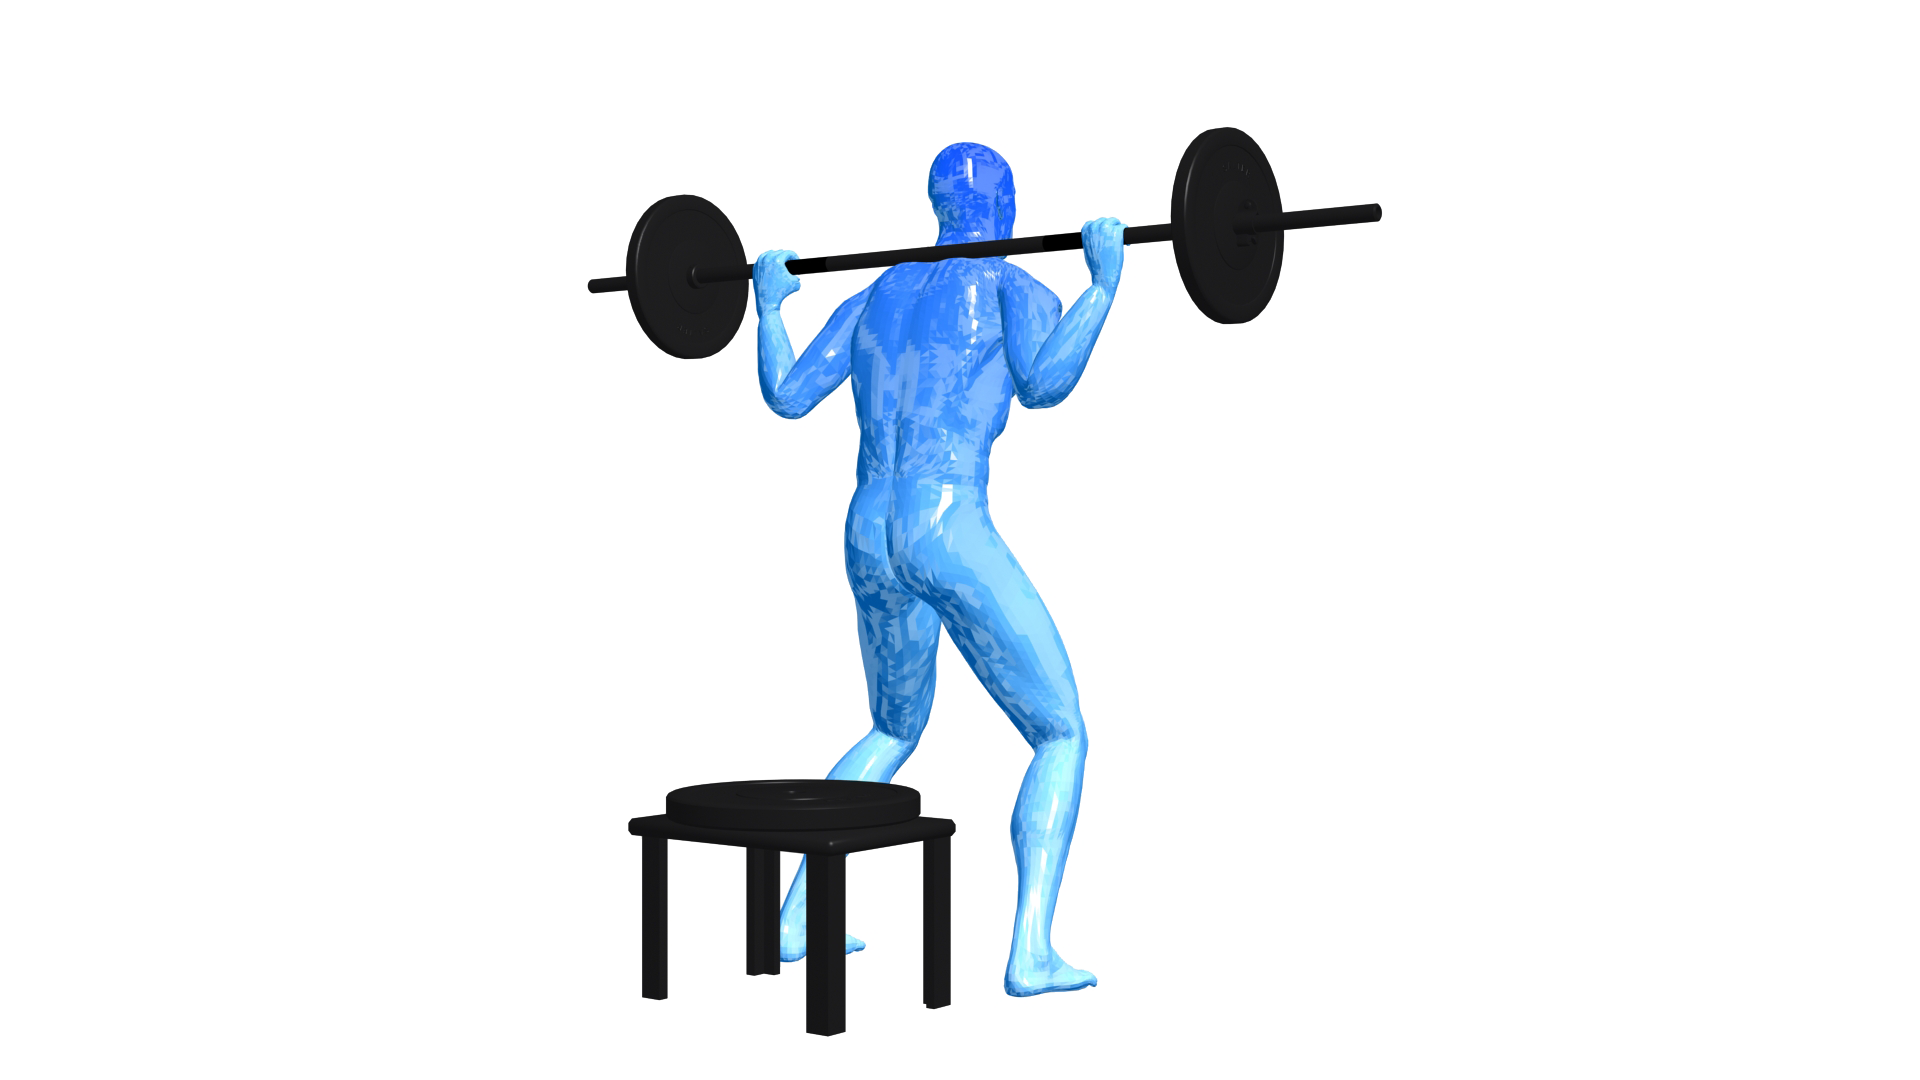
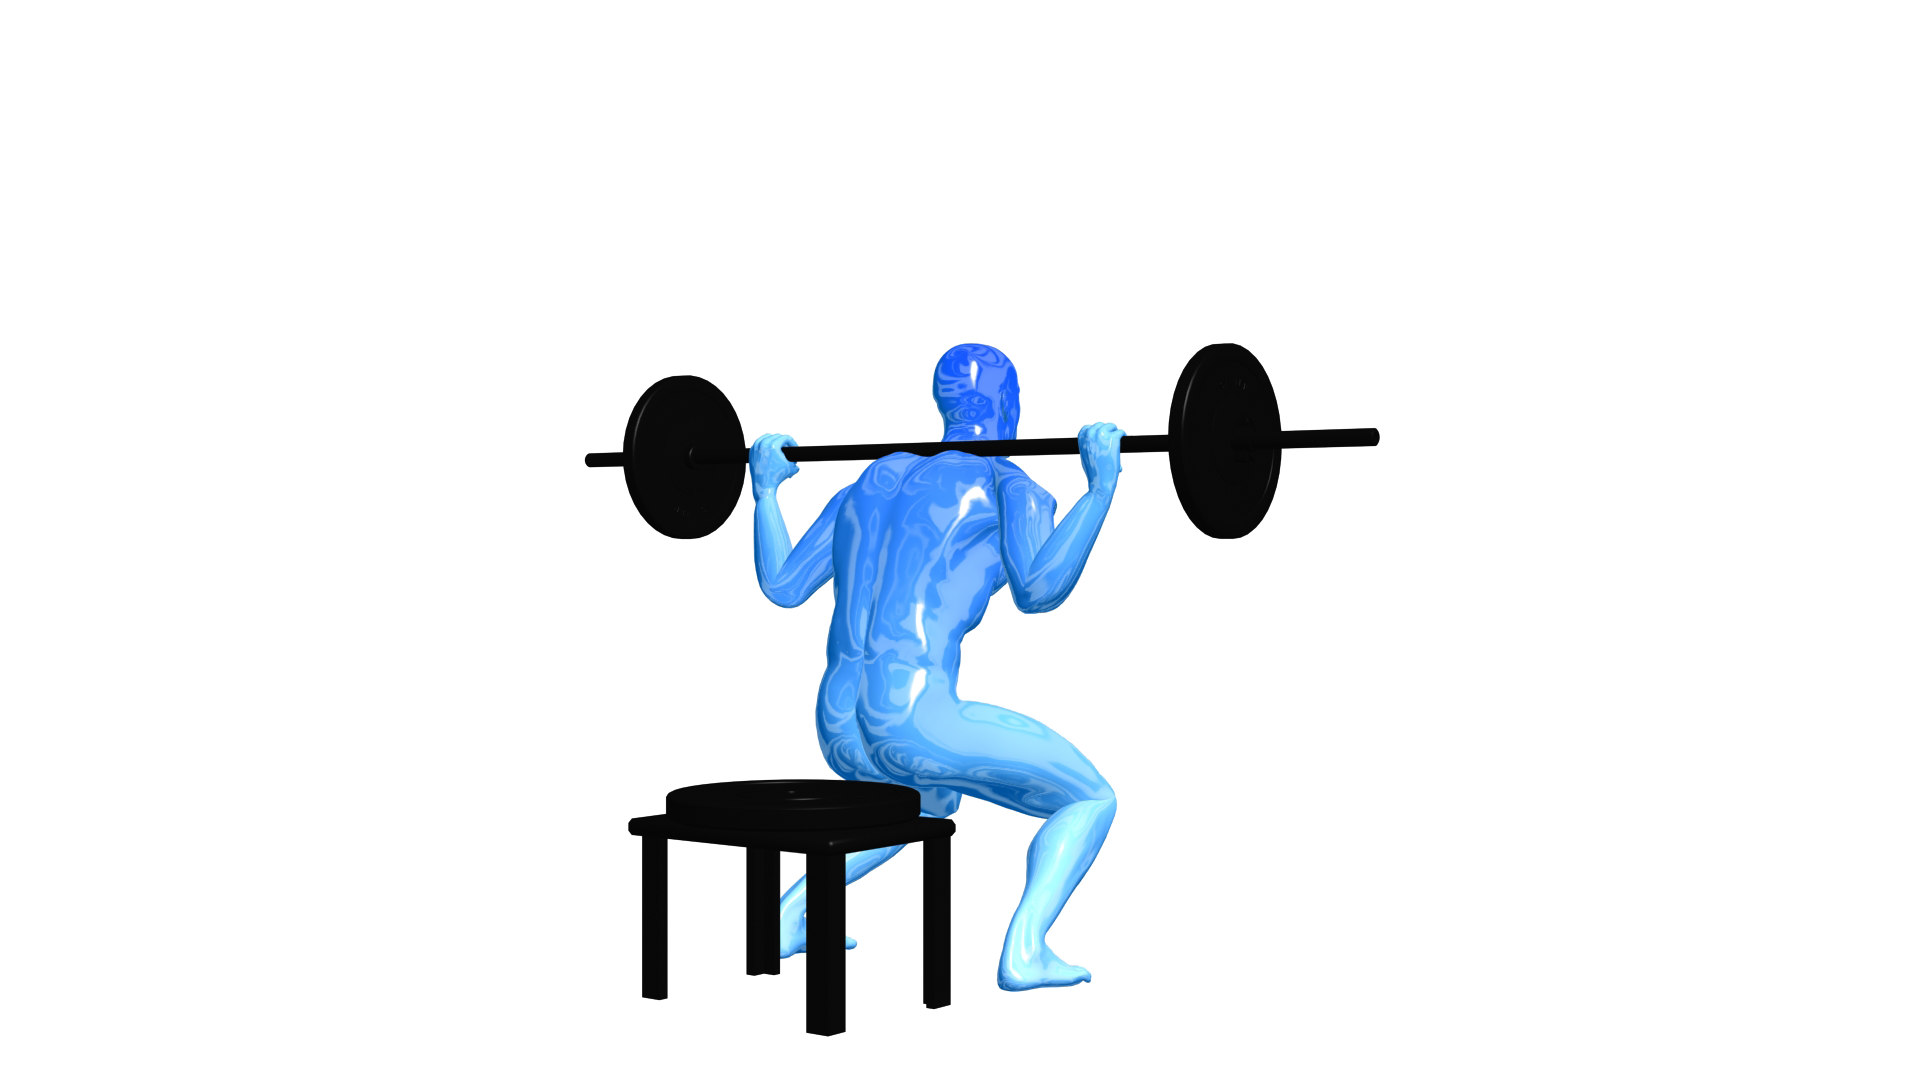
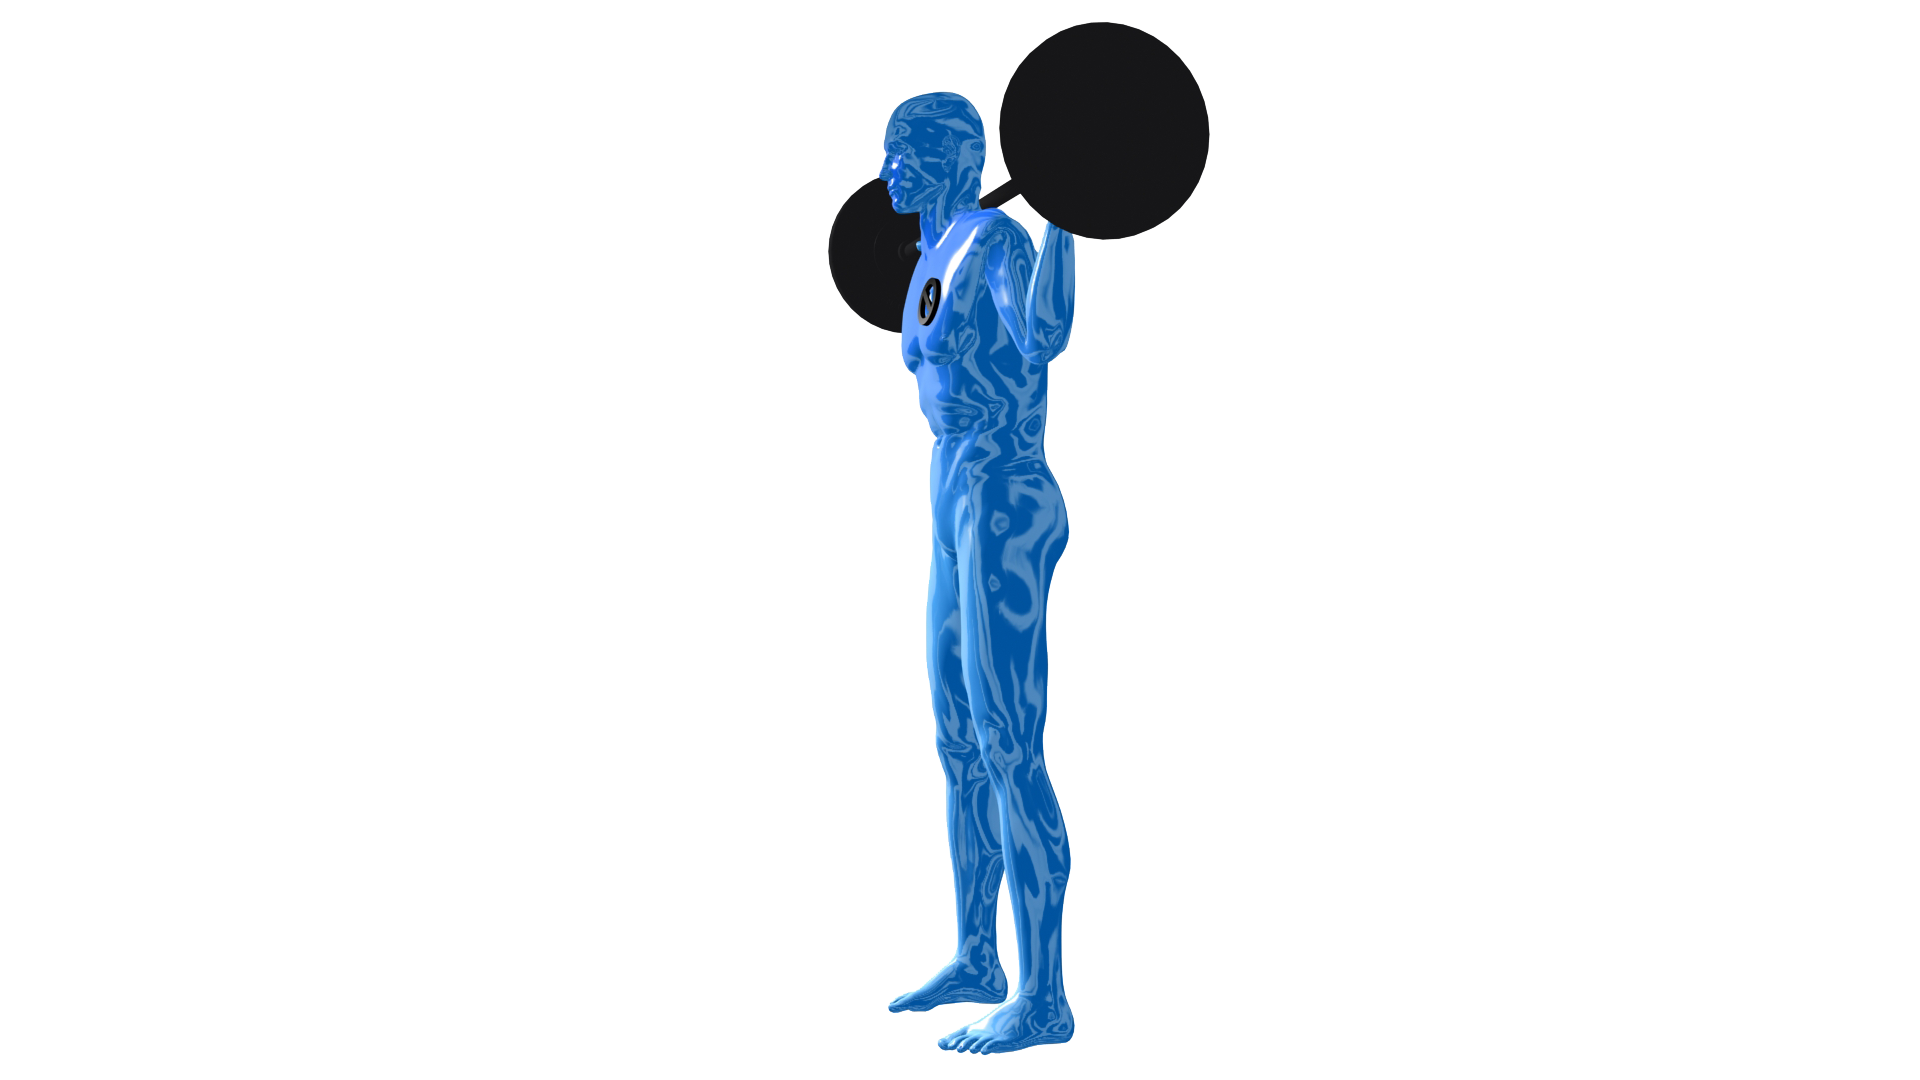
This exercise is best performed inside a squat rack for safety purposes. To begin, first set the bar on a rack just below shoulder level. Once the correct height is chosen and the bar is loaded, step under the bar and place the back of your shoulders (slightly below the neck) across it.
| Step 2
Grasp the bar with your hands equal distance at each side and pushing with your legs lift it off the rack and at the same time straighten your torso(upper body).
| Step 3
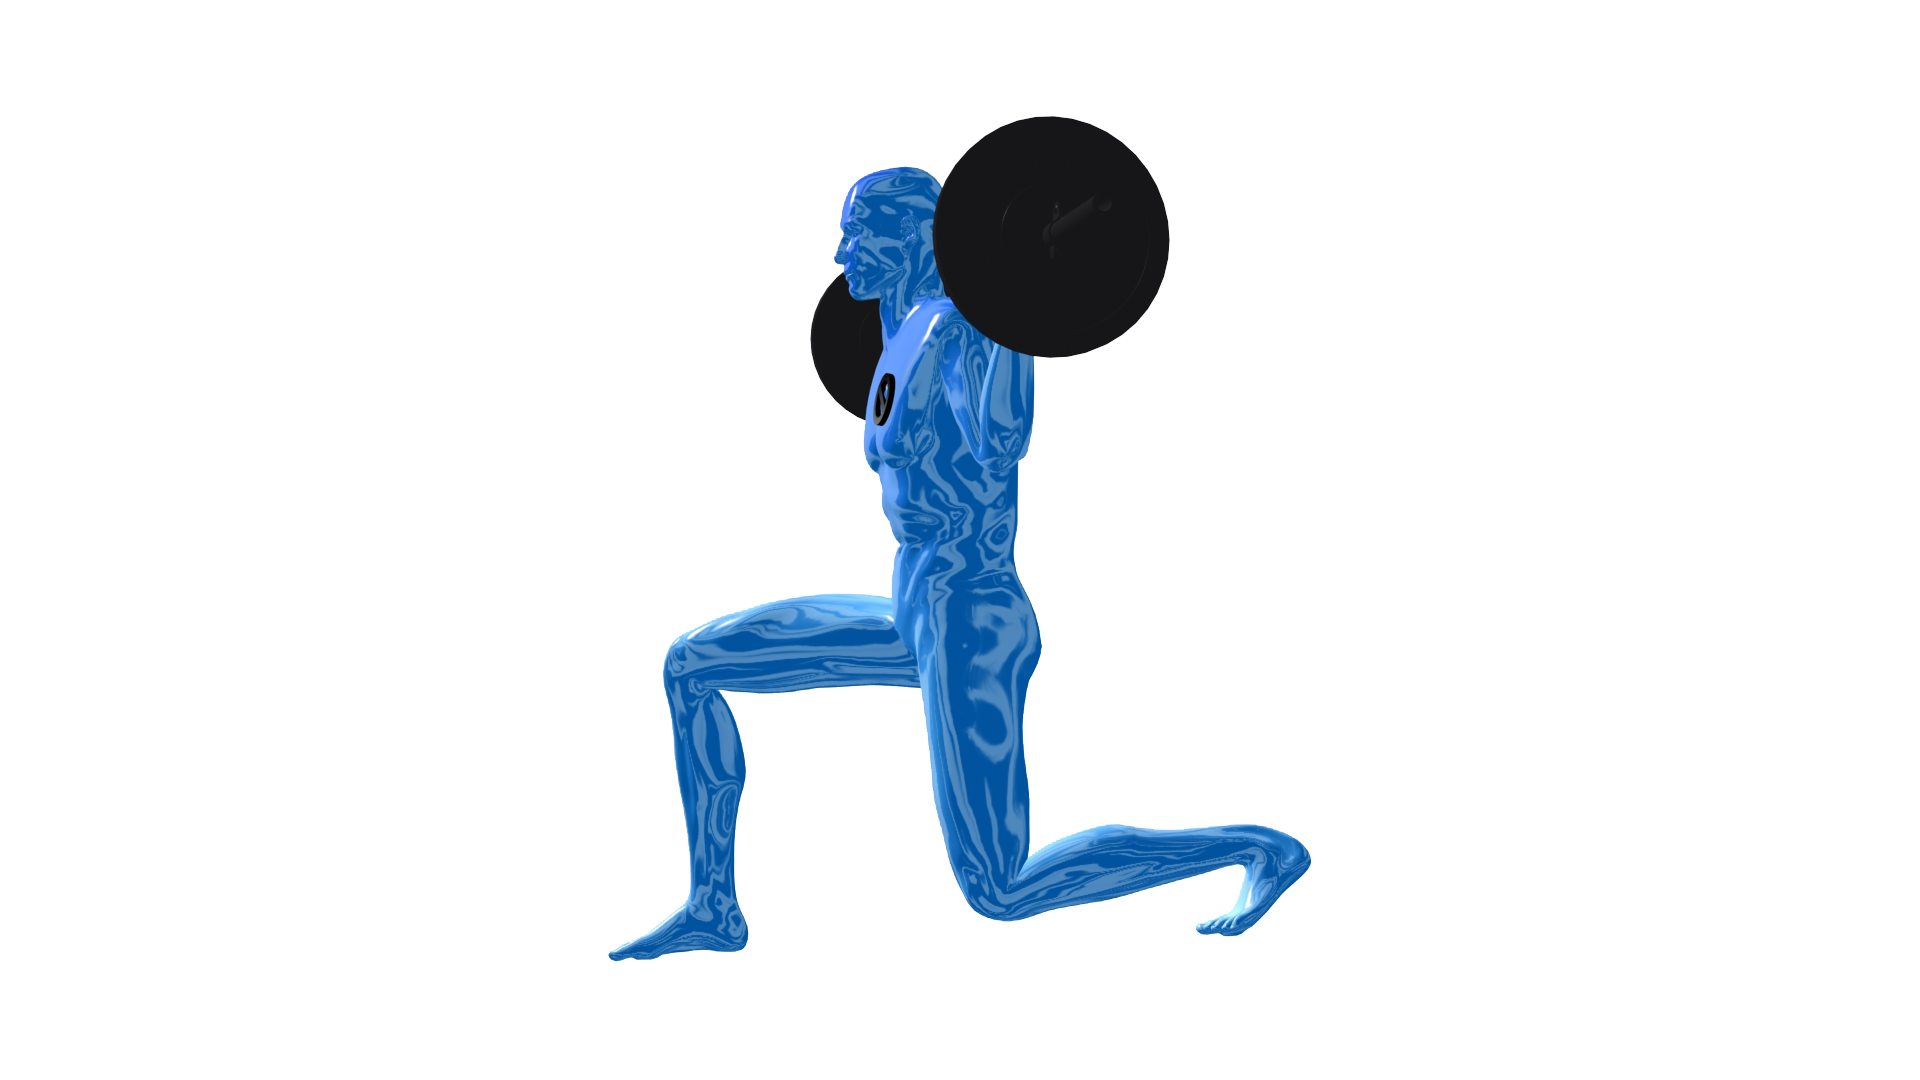
Step away from the rack and step forward with your right leg and squat down through your hips, while keeping your body or torso upright and maintaining balance. Inhale as you go down.
Note: Do not allow your knee to go forward beyond your toes as you come down, as this will put undue stress on the knee joint.
| Step 4
Using mainly the heel of your foot, push up and go back to the starting position as you exhale. Then perform with the left leg.
| Step 5
Repeat the movement for the prescribed amount of repetitions. Typically 12-15 reps.
Beginners: Start with no weight.
For variations, this exercise can be performed with dumbbells in each hand.

| Step 1
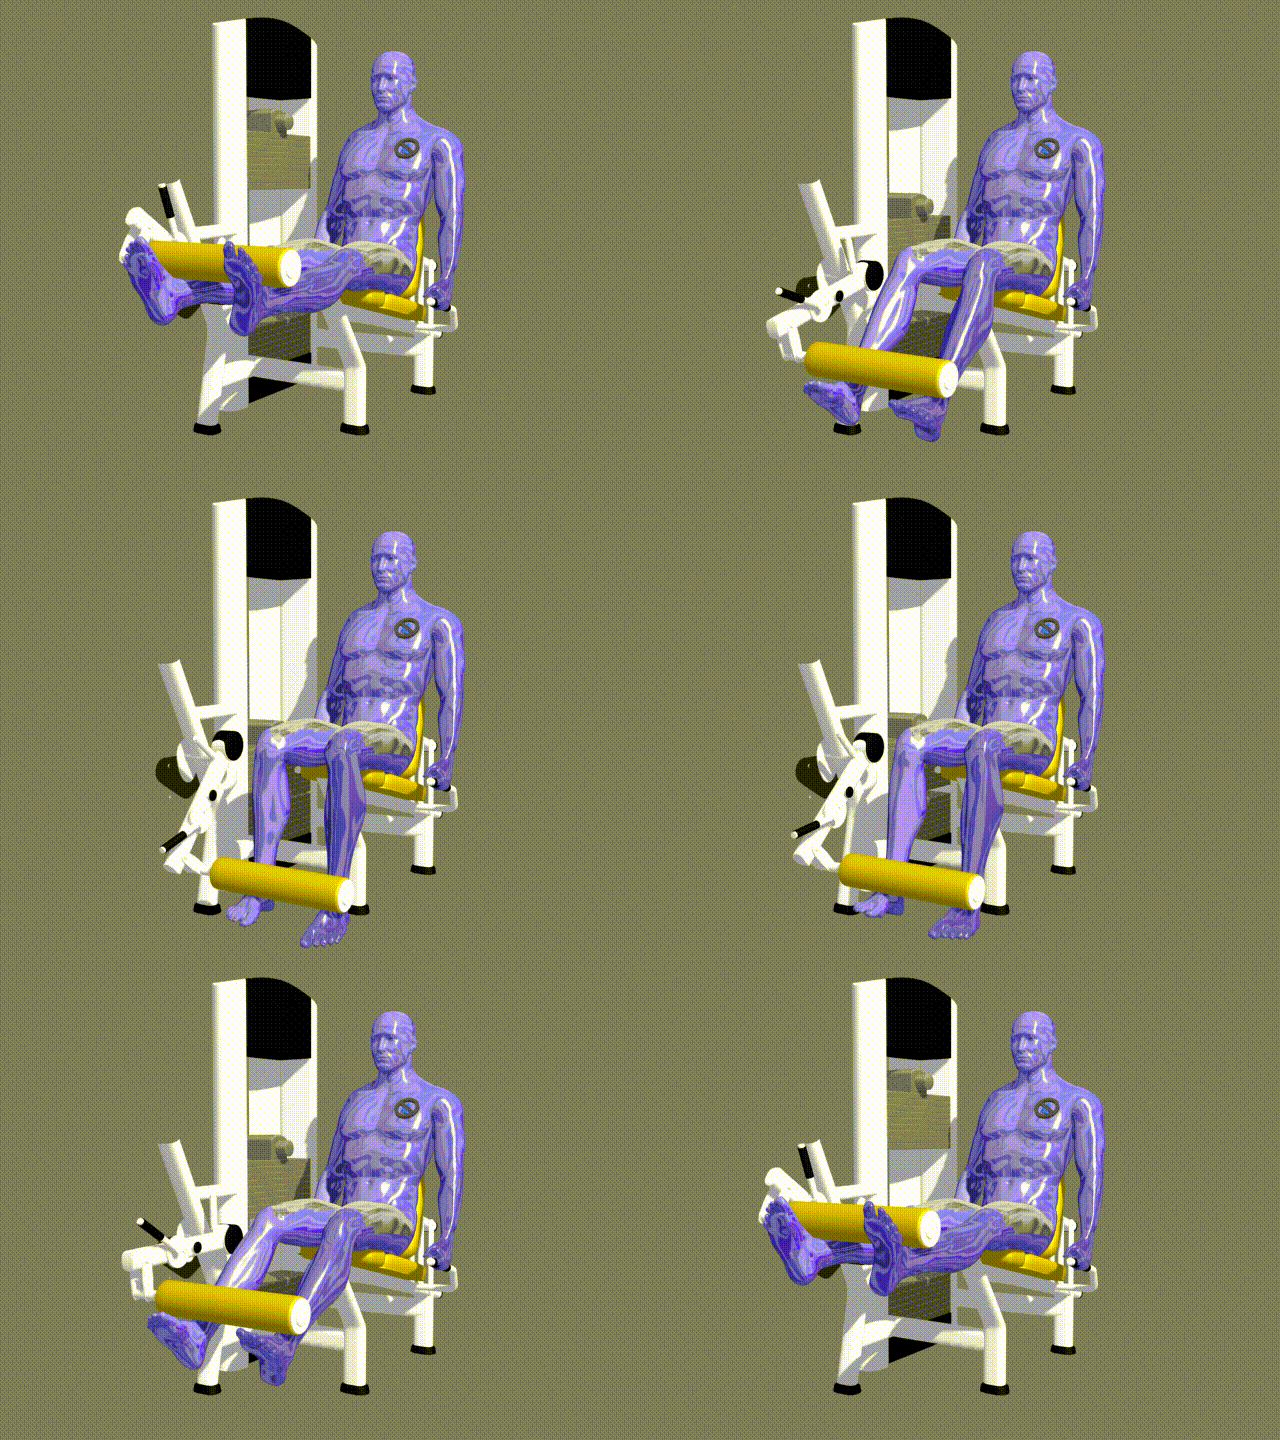
To begin, choose your weight and sit on the machine with your legs under the pad and the hands holding the side bars. NOTE: You will need to adjust the pad so that it sits just above your feet. Also, make sure that your legs form a 90-degree angle between the lower and upper leg. If the angle is less than 90-degrees then that means the knee is over the toes which in turn creates undue stress at the knee joint.
| Step 2
Using your quadriceps, extend your legs to the maximum as you exhale. Ensure that the rest of the body remains stationary on the seat. Pause a second on the contracted position.
| Step 3
Slowly lower the weight back to the original position as you inhale, ensuring that you do not go past the 90-degree angle limit.
Repeat for the prescribed number of repetitions.


